WHOA lansi

francophile, oenophile, logophile, turophile

Tag: recipe Page 1 of 2

Quick Mayo

Homemade mayo. It’s become a bit of a staple in our house. I know not everyone loves mayonnaise, but I swear homemade is a game changer. It takes about 2 minutes to make & tastes significantly better than most store bought versions. & then you can quickly throw together a delicious crab salad or some spicy mayo dip. Trust me on this one – it’s really simple.

For this non-recipe, you’ll need an immersion blender & a tall mason jar. The jar should only just fit your blender, without a lot of extra space around it. Assemble the following ingredients in the mason jar to start. To make a little under a cup of mayo, you’ll need:

  • 1 egg
  • 1 tsp lemon juice
  • 1/2 tsp dijon mustard
  • 1/8 tsp garlic powder
  • pinch of salt
  • 3/4 cup of oil

I generally eyeball the ingredients & it turns out great, so don’t worry too much about exact measurements. If anything you want a little more oil than less. Use any mild-tasting oil for this. I generally use light olive oil because I find regular olive oil has too strong a flavour. Many people like avocado or macadamia nut oil too. Experiment & figure out what you like best (or just use the light olive oil – it’s great!).

Mayo Ingredients

Throw all your ingredients into your mason jar & put your immersion blender to the very bottom of the jar.

Fire up your blender! Keep it at the very bottom to start, & slowly raise it as it starts to emulsify. If it doesn’t seem to thicken to the right consistency (think thick, but spreadable), add more oil & repeat the process with the blender & the mason jar.

Halfway Mayo

Halfway

Fifteen seconds in, it should look like the photo above. You can still see a little bit of oil at the top, so you can slowly start to raise the blender so that it mixes with the rest.

Our finished product is always a little more on the yellow side because we use those Omega 3 eggs. It tastes delicious though. Add it to crab meat with a little hot sauce, celery, & dried seaweed for some quick midweek lettuce wraps – that’s my favourite use for this stuff!

30 sec mayo

Experiment with different oils – each will add a bit of a different flavour, so you may have to play a little to find the one you like the best. There’s some debate about how long this mayo keeps for. I usually keep mine a little over a week, since I make it in smaller batches as I need it, but I’ve also heard it’s good until the date on the egg you used.

I like it a lot better than most mayo’s I find in the stores (with one pricey exception I sometimes give in to) & it’s easy & cheap to make with ingredients you’re likely already buying. Have you ever made your own mayo? Is it something you’d try?

Braising

DSC01679

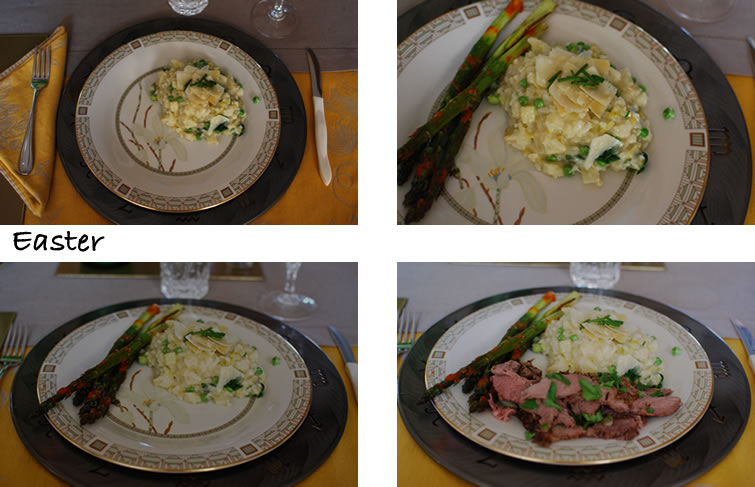
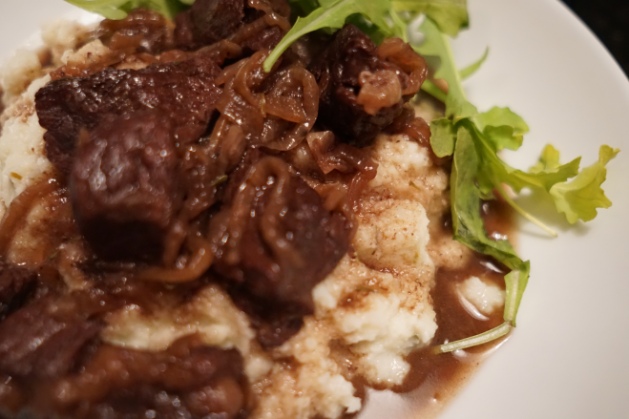
Totally profession plating here…

For the last few years, we’ve ordered an eighth of a cow from a coworker of N’s. His family has a smaller ranch called Grazed Right. Our beef order has since become something we look forward to every fall as the beef is some of the best I’ve ever had. (I am in no way affiliated with their ranch, btw – I truly love their beef & have recommended it to most of our close friends.) Ben & his family are really great people & I’m happy to support them in becoming successful full-time ranchers. I hope they’re well on their way to achieving that goal!

One of the unexpected perks of ordering a portion of an animal is learning to cook cuts that you may not have otherwise bought. I’m very rarely intimidated by any cut of beef anymore since every eighth has such a variety – from bone-in steaks to roasts to chuck steak & short ribs. It’s a great opportunity to get a little creative in the kitchen.

We were discussing our upcoming beef orders recently & comparing what we had left from the previous year. As N & I are on our third year, we’ve fared a bit better with our ground beef usage especially (when you order in bulk, you generally get a lot of ground beef – we turned some of ours into sausage which definitely helped!). A few people mentioned they still had chuck steaks leftover since they usually require a lengthy marinade. Personally, I marinating a bit tedious so I’ve turned to braising instead. While it is a slower method of cooking, it’s virtually foolproof & a delicious way to turn a tougher cut into something wonderful. I love that this method is back in popular rotation – I’m sure my grandparents would have a good chuckle over what was probably a common way to for them to cook.

I thought I’d share my favourite recipe on the blog today, in case you’re looking for a way to use this cheaper cut. I’m using the term recipe pretty loosely here – there’s really nothing groundbreaking here. For those of us who forgot about braising though, I hope it serves as a little inspiration to put it back into your weekday rotation.

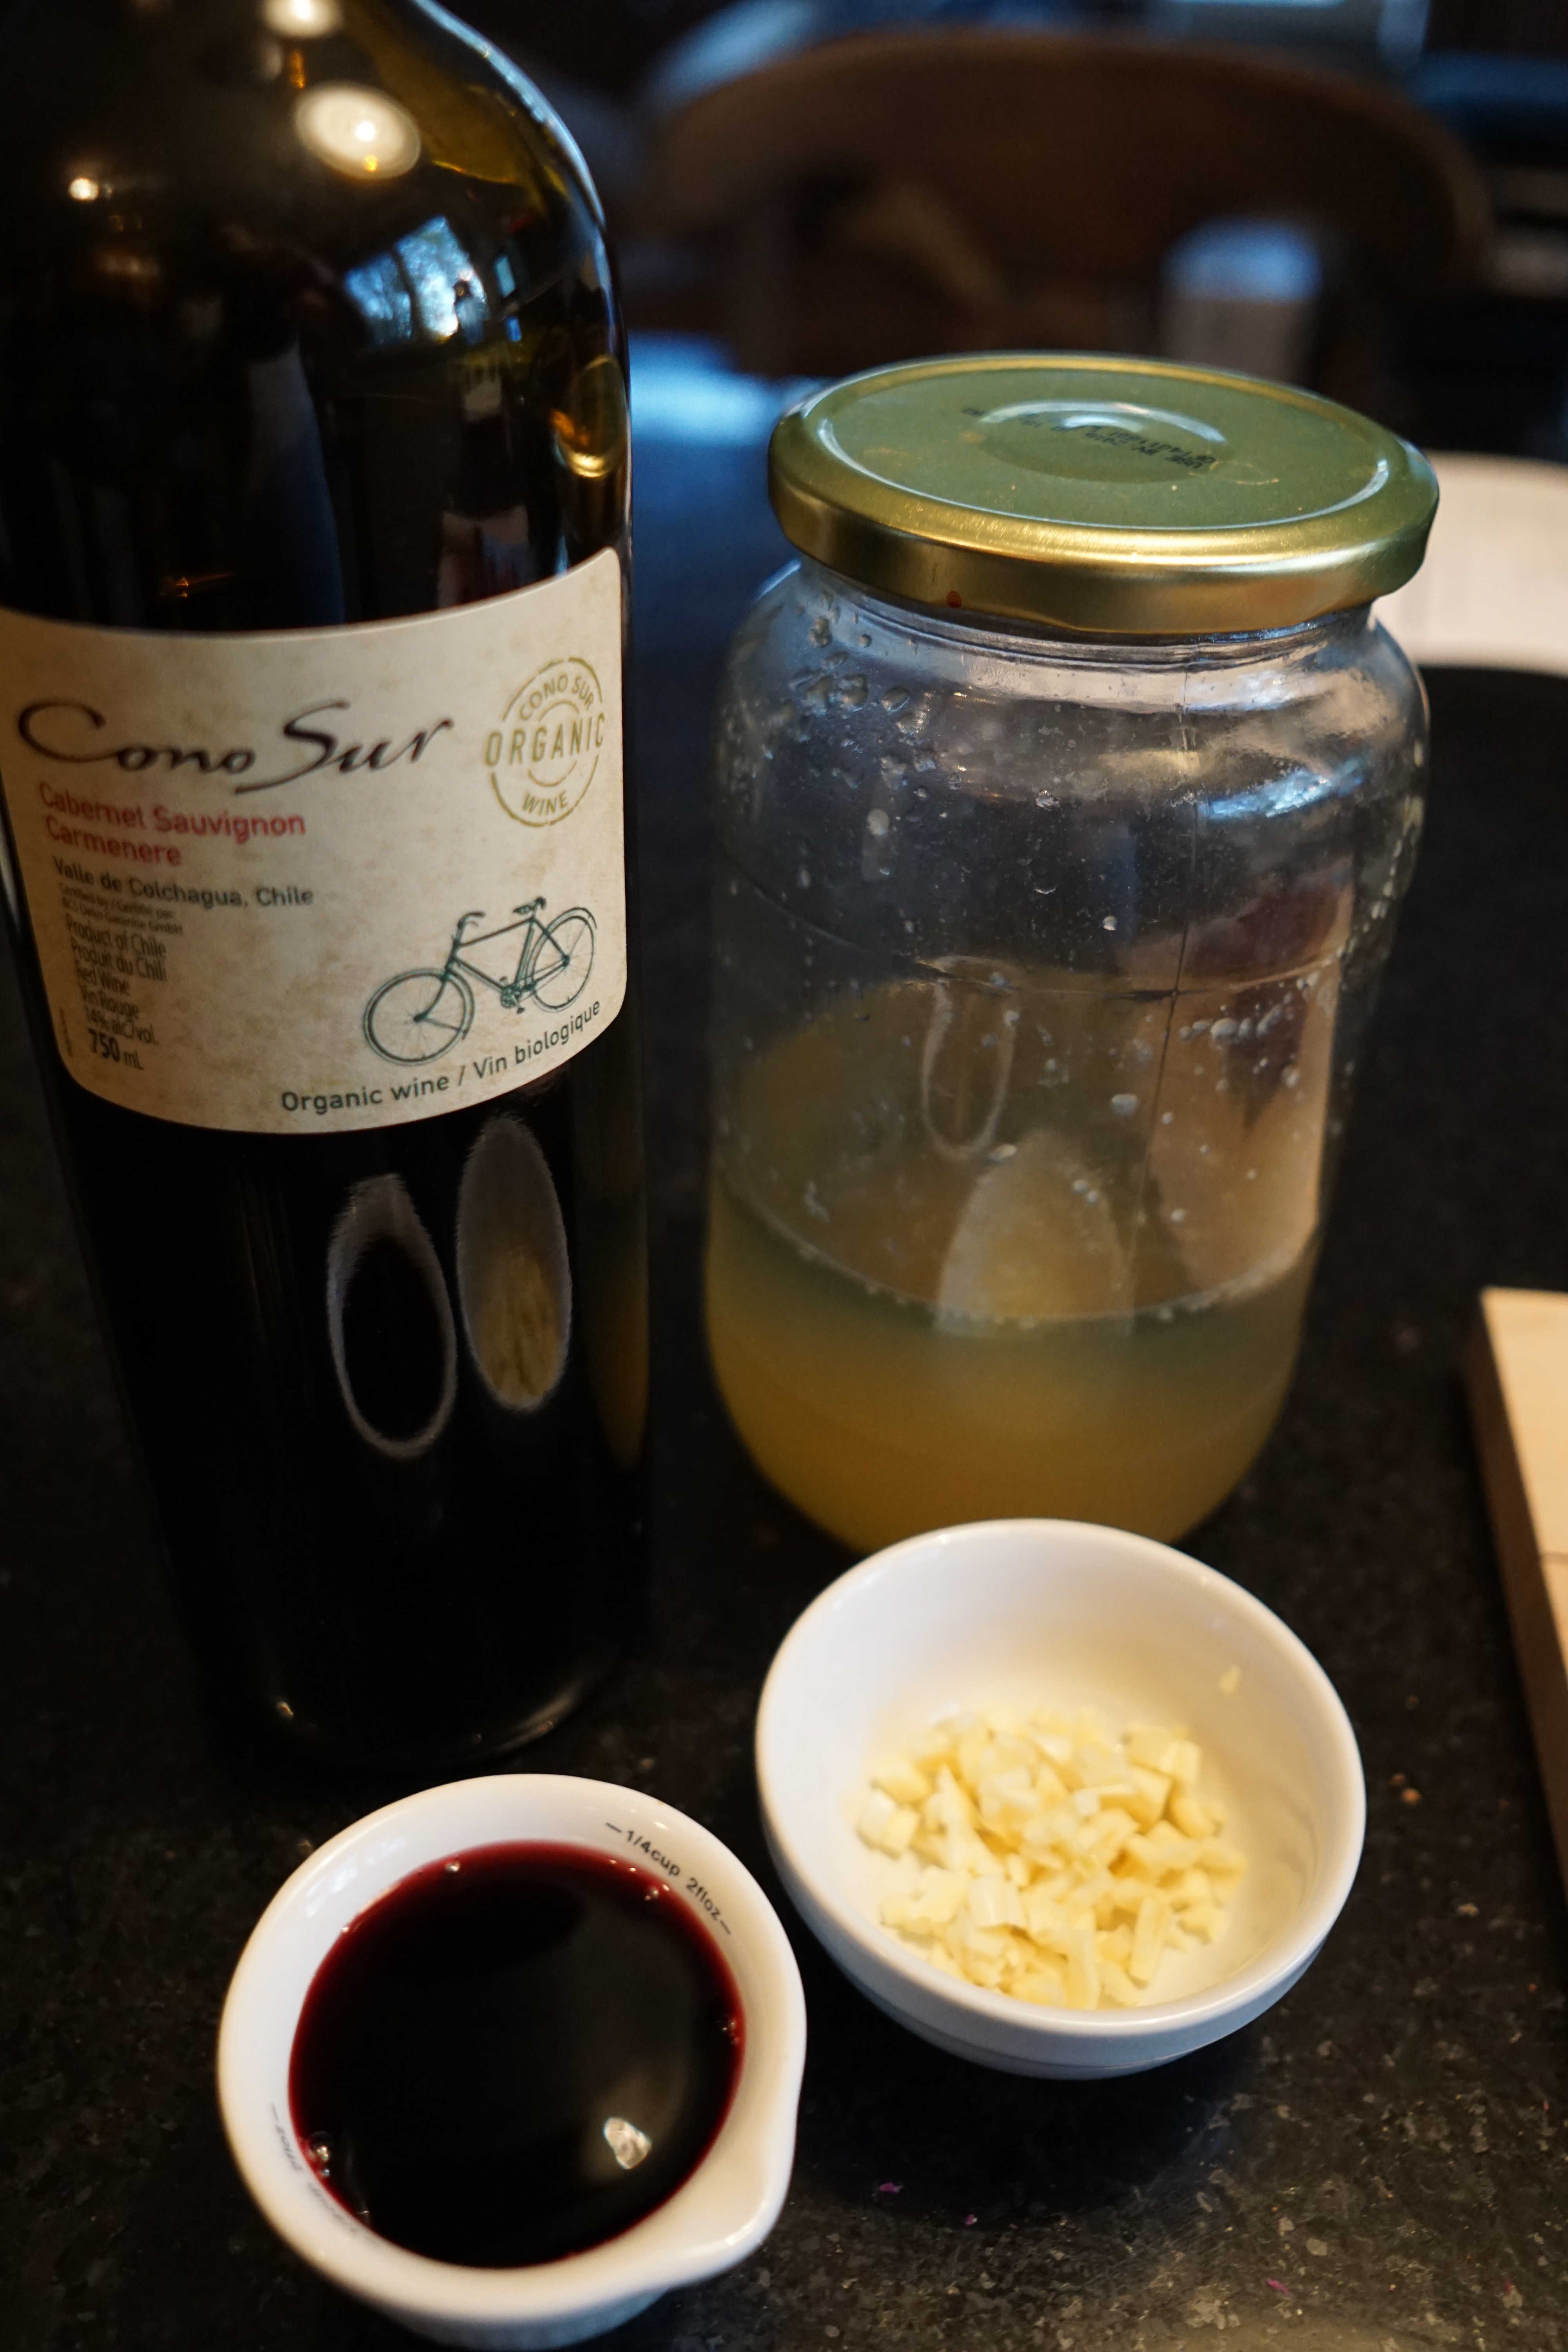
You’re going to need:

  • 1 medium onion (white or yellow)
  • 1/2 cup of red wine (split in half, I used cab sauv)
  • Stock (Beef or Mushroom preferably, I think I had chicken on hand – whatever)
  • 2 cloves of garlic, minced
  • 2 T butter or fat
  • Pinch of thyme
  • Salt & Pepper to taste

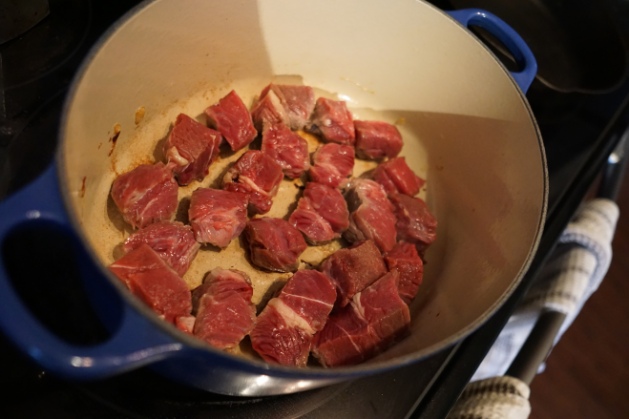
Get your chuck steak out. I usually let my meat come to room temperature before I throw it on the grill on in the oven. This is especially true with chicken, but I find it works well for keeping steak juicy too.

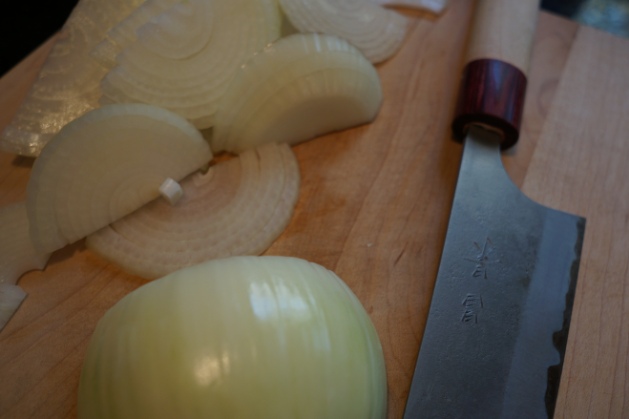
Next, grab a sharp knife & slice your onion. I like to do them a medium thickness. I find I get the best caramelization that way. While you’re slicing your onion, heat a large oven-proof dutch oven on medium heat. (I used my le Creuset for this recipe. It’s awesome, but you definitely do not need to use one. Any oven-safe dutch oven will work. Normally I would actually use my Staub because the lid is basically made for braising. There are a lot of options out there though & you don’t HAVE to splurge on either of these!)

DSC01650

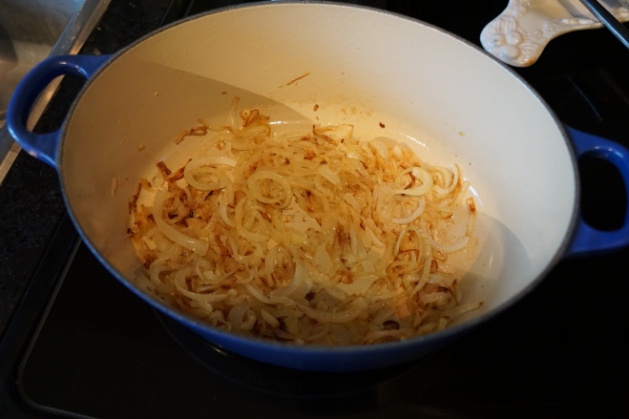
Add the butter or fat to the dutch oven. I use a mix of bacon fat & butter. Once it has melted, you can add your onion & turn it down to low. You want to slowly cook the onion until it’s caramelized. While this is cooking, grab your steak.

DSC01654

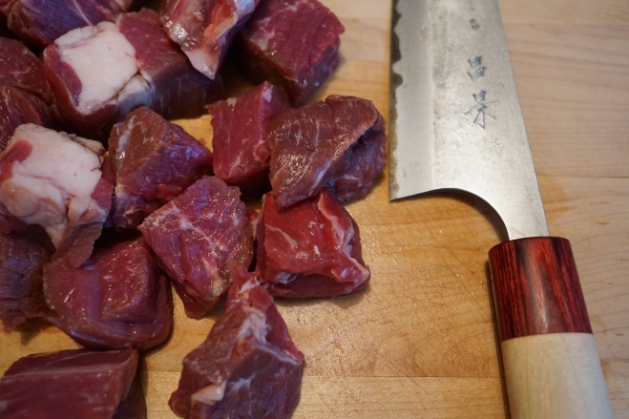
You can admire her for a minute here if you like…

Preheat the oven to 325 F. Cube your steak & set aside in a bowl.

DSC01656

DSC01657

Keeping an eye on the onions, measure out the rest of your ingredients. Mince the garlic if you haven’t already. Measure out a cup of stock & 1/4 cup of wine.

DSC01659

When your onions are almost caramelized, add the garlic. Cook until fragrant.

DSC01663

Remove the onions & garlic & set aside. Add the steak to brown on all sides.

DSC01666

DSC01671

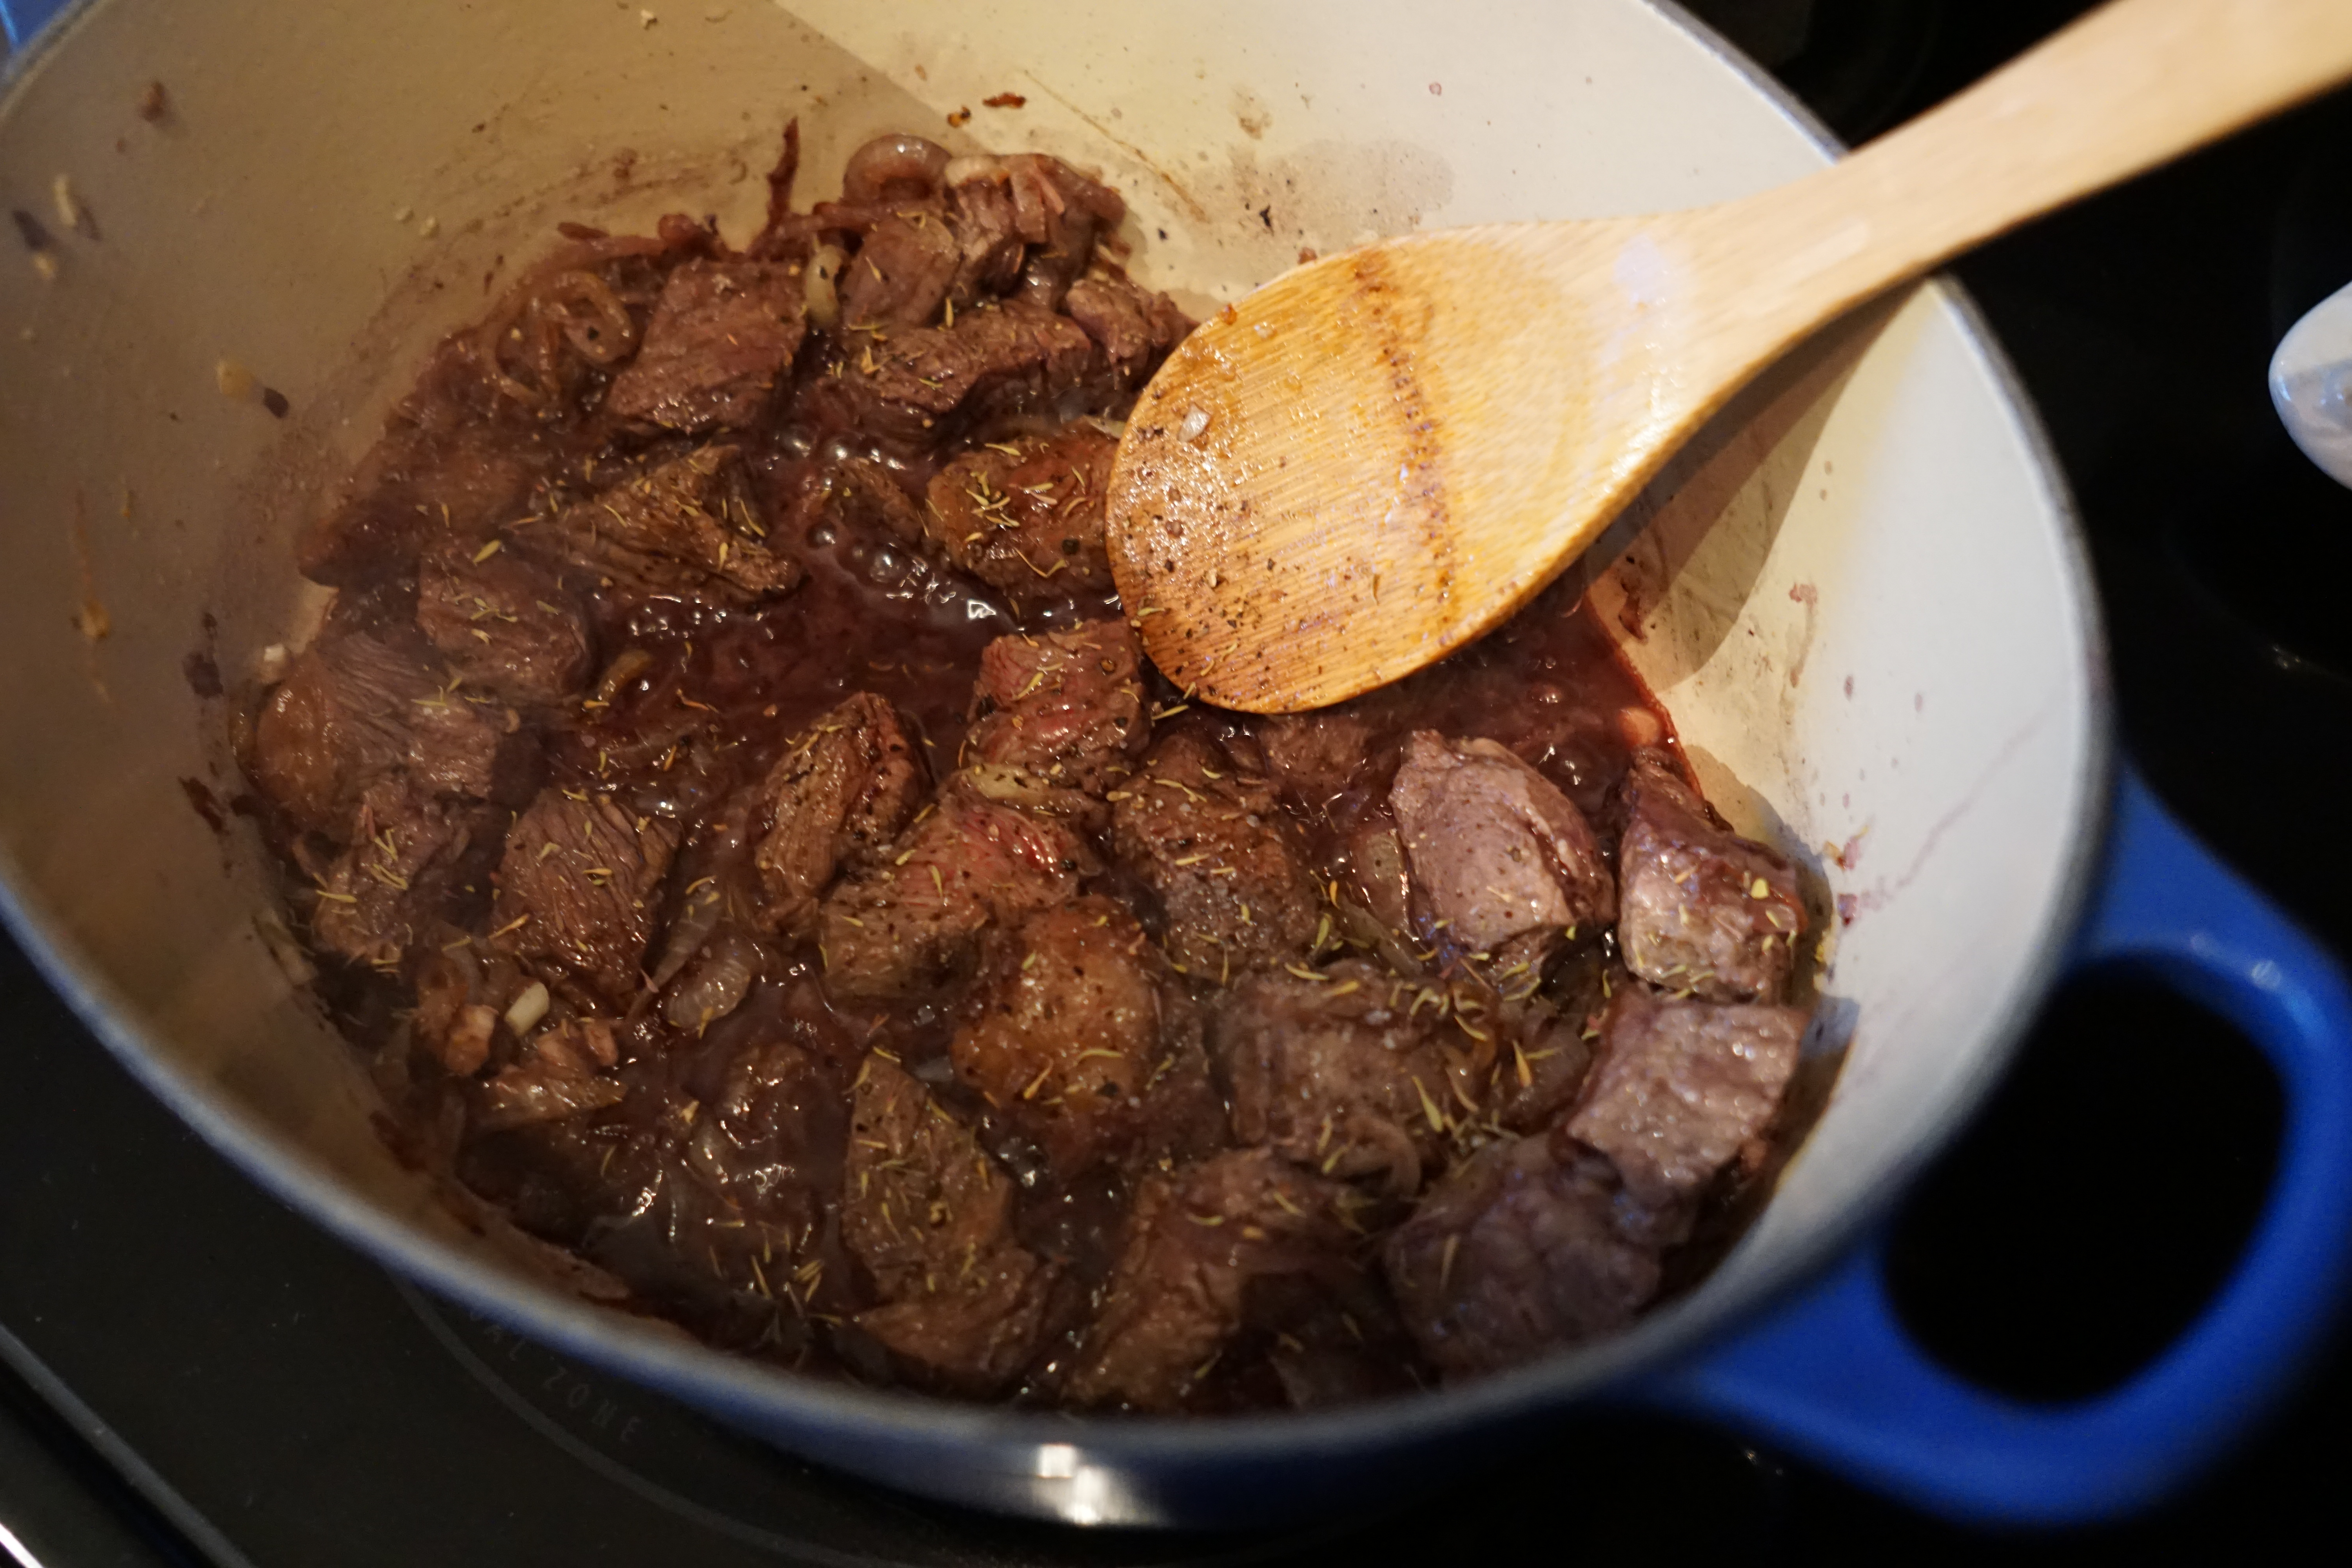
Once the beef has browned on all sides, add 1/4 cup of the wine to deglaze the pan. (You want those browned bits in your “sauce”!) It will cook off a bit & then you can add your onion & garlic back in. Add the stock, the rest of the wine, & the spices until the meat is covered. (My measurements aren’t an exact science so you may need a little more or a little less depending on the size of your dutch oven & how much steak you have.)

DSC01673

Cover & put in the oven. Set your timer for 30 minutes. I check it every 30 minutes or so until the sauce has reduced & the meat is tender. It usually takes about an hour & a half to two hours.

After an hour, I’ll usually start prepping my side dishes. We like to pair this with mashed faux-tatoes (cauliflower pretending to be mashed potato). It’s really simple & delicious. It would also go well with real mashed potatoes or even rice, if you’re like one of our friends who loves rice!

DSC01674

Mashed faux-tatoes in the vitamix

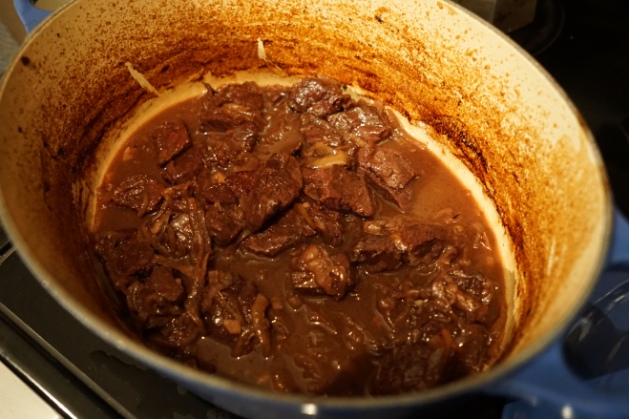
When it’s done, it will look like this. If you’d like to add a little flour to your sauce (or make a roux), that would probably be lovely. I sometimes add a tiny bit of tapioca flour to thicken it, while keeping everything gluten-free. I don’t think it needs it though if you don’t want.

DSC01675

I served it on top of the mash & added a bit of arugula. That’s it! It makes for a delicious meal!

DSC01678

So that’s how I make use of our chuck steaks. These are more guidelines than anything else – add your own twist (& let me know how it goes!) or keep it the same.

While braising is a bit of a slower process, I think it’s worthwhile. Your whole house will smell fantastic, it’s relatively hands off, & you end up with a fantastic, hearty meal at the end.

Eat \ Bacon & Gauc Deviled Eggs

While I do a lot of cooking at home, it isn’t often that I post a recipe on here. Our kitchen is pretty tiny, with dark counter tops & terrible lighting, so I don’t often bust out the real camera. If you follow me on Instagram, you’ve probably seen a lot of my food iPhoneography already (although that’s only picking back up again now that the sun stays out later). I spend most of my day thinking about what I just ate, what I’m going to eat, or what I’d like to eat. My love of food definitely isn’t the reason for the lack of recipes on here.

I love experimenting in the kitchen. It doesn’t always turn out right, but the more I take chances, the more I get a sense of what works & what doesn’t. I’m not anywhere near as good of a cook as I’d like to be, but I’m definitely proficient. & I get better all the time.

In that last few years, I’ve come to realize that I’ve surrounded myself with people who are pretty similar in that respect. My friends all love food. I suppose it’d probably be pretty hard to hang out with me if you didn’t. In the summer especially, we throw a lot of potlucks. I love trying out new recipes, but one I come back to regularly is deviled eggs. I just love them! & I’ve made quite a few variations of them over the last couple of years. Many are a little on the complicated side, but one of my favourites is from George, the Civilized Caveman.

A couple weeks ago, I was headed out to a potluck after CrossFit & I couldn’t decide what to make. We had a bit of a busy weekend planned so I wanted something quick & easy. None of my usual recipes are very hard, but I didn’t feel like messing around with an avocado. I just wanted to be super lazy. So I came up with this modification on my usual recipe.

I don’t like measuring so this recipe involved me eyeballing everything. As a result, none of these measurements are exact. I think it’s hard to mess up devilled eggs anyway. Don’t stress if you like exact measurements. This isn’t baking. It’s going to be alright.

Ingredients

– 4 strips of Bacon
– 1 T of Green Onions
– 3 T of Wholly Guacamole
– 2 T of bacon fat, melted
– 1 T favourite hot sauce
– a dozen eggs
– dusting of Paprika

 Start with your bacon. Cook up about 4 pieces. I like this gluten-free bacon in the picture because there also isn’t a lot of added nitrates or soy (I prefer to avoid unfermented soy). You can use any bacon you like. I’m not the bacon police.

You’re going to want to start boiling some eggs now too. Everyone has their own method so I recommend going with that. Whatever works for you. Personally, I put all my eggs in a pot & bring it to a boil. Once it boils, I take it off the heat & put a lid on it, setting the timer for 15 minutes. Once that timer goes off, I dump the hot water & put those eggies in an ice bath to stop the cooking. Everyone says this method is foolproof.

Everyone is wrong! (Just kidding!) Sometimes this works for me & sometimes it doesn’t. Either way, hard boil some eggs. Then peel them, cut them in half, & put all those delicious yolks in a bowl. I put my egg white halves into the container I plan to use now to save time & dishes. (See? Lazy!)

Now you can start adding your other ingredients. Chop the bacon into small pieces, reserving a few pieces for a garnish if like. Add the bacon, guacamole, bacon fat, & hot sauce to the egg yolks & mix it all together.

Once it is all combined, grab a plastic bag & put your filling into it. (You can also use a pastry bag, I guess. I’m just not that fancy.)

Cut one of the corners of your bag on the diagonal. Your hole should be medium-sized. If it’s too big, you’ll have trouble controlling your filling, but it’s too small, it won’t dispense. You want it to be juuuuuust right.

Now just fill your eggs with the filling. I like to do each in a circular motion. Sometimes it works, sometimes it totally fails. I probably cut my hole a little bigger than is ideal this time, so there wasn’t much pattern to this filling. They still look & taste good, so don’t stress.

Garnish with green onion and paprika (& bacon, if you reserved some). Tada! Easy peasy deviled eggs with no weird mayo products. Give them a try!

Potluck

I love cooking, eating, and entertaining friends, so hosting a potluck is a pretty fun night if you ask me. A couple months ago, we had a few of my coworkers and their men over for a couples game night. It was a fun night, filled with delicious food and friendly competition.

We’ve had a few potlucks this year so I knew I had some good recipes I could whip up, but I wanted to try something new. I’d just bought two new cookbooks (Chuck’s Day Off and Gather) and I was way to excited about them both. I decided to go with a recipe from Chuck’s book. I eventually would like to try all the recipes. The majority aren’t paleo or even gluten free, but he really knows his way around a kitchen. His restaurant, Garde Manger, in Montreal is one of my very favourites. If you ever find yourself in Montreal, I highly recommend you go for oysters, lobster poutine, and steak at his restaurant. Or try out Le Bremner. It is certainly on my list of must visits.

I settled on a cheese and tomato tart. It was relatively easy to make and was both beautiful and delicious. It was a lot like a pizza, but with a buttery phyllo pastry base. I remade it tonight and added prosciutto. It was a welcome addition and I’d definitely do it again. Can you really go wrong with prosciutto?

I also decided to make some mojitos. They’re one of my favourite summer drinks. There’s something so refreshing about a delicious mojito with fresh lime and mint. Not only that, but they’re really simple and I was itching to bust out the shaker we got as a housewarming gift.

In addition to my tart, we had some delicious wings, mixed veggies, and salad roles. Z definitely stole the show with his roast beef though. I think it came out perfect! These pictures make my mouth water a little bit. (And I’m quite jealous of that gorgeous knife!)

I’d put my camera away by the time we did dessert. Nathan made his delicious ginger molasses cookies and we picked up Salted Caramel gelato from Fiasco to make ice cream sandwiches. They were a pretty big hit. 
All in all, it was an awesome evening with delicious food and great company! There are so many more recipes from both of my new cookbooks that I’m looking forward to trying. I take them to bed regularly and daydream about what recipe I’m going to try next. Maybe it’s time for another potluck soon?

Birthday Pizza

N loves pizza so it was an obvious choice for his birthday meal. It doesn’t hurt that my parents have an incredible pizza recipe that they love to use. When I suggested we make it for N’s birthday, my dad was more than happy to oblige.

Like most recipes I love, this one just takes patience, practice, and some delicious ingredients. The sauce is Jamie Oliver’s quickest tomato sauce. It’s simple and full of flavour. You can’t go wrong with this one. We usually substitute Roma tomatoes for San Marzano type and I would highly recommend doing this if you can get your hands on them. They have a really distinct flavour and it’s become what I look for in an authentic pizza sauce.

The dough is a bit of a hybrid. My dad is always the one to make it, but I’ve borrowed his recipe and was gifted some semolina flour so I plan to try it out. You’ll have to wait for that to happen for me to post my take on the recipe, but there are hundreds of great recipes out there. I really think a lot of baking is getting to know your oven and your region anyway, so be adventurous. Experiment. I mean, the worst thing that’s ever happened to me was that I ate the ingredients off my pizza. They were still delicious even if my crust was a bit of a fail.

As we waited for the dough to finish proofing, we made up a tray of appetizers, grabbed some beers, and headed out to the deck to relax. This is something my family does often, especially out at the lake, and I love it. Olives and cheese are two of my favourite things. I’m not one to get overly excited about sweets, so to me these little appies are way better than desert. Unless it’s crème brûlée. I can’t say no to that deliciousness.

We made two large pizzas that night. The first was very traditional:  tomato sauce, buffalo mozzarella, prosciutto, caramelized onions, and basil. It’s probably my favourite pizza. The flavours seem to come together perfectly without competing with each other.

My dad named our second pizza The Kitchen Sink. Basically it had “everything but the kitchen sink”. We took a bunch of stuff we had in the fridge and piled it onto the pizza. There was asparagus, spicy capicola, prosciutto, artichoke hearts, and a couple different cheeses. I’m sure I’m forgetting some things too. It turned out delicious! I still love our simple pizza, but this one gave it a run for its money.

We chatted well into the night, enjoying our pizza and wine. That’s another thing I love about making pizza with my family: with one oven the meal lasts for a few hours, so we sit around chatting and enjoying each other’s company as we wait for the next pizza.

Birthday Brunch

If you’ve ever been for brunch with N, you probably know what he orders. He’s a creature of habit and never strays far from his beloved Smoked Salmon Eggs Benedict. I don’t really blame him. How can you really go wrong with a delicious biscuit, smoked salmon, poached eggs, and Hollandaise sauce?

You can’t. Don’t try and argue with him.

This year for his birthday, we were heading out to the lake with my dad. I decided it’d be fun to make them Smoked Salmon Eggs Benedict the morning of his birthday. I’d never attempted Hollandaise sauce and was honestly a bit intimidated, but I decided to go for it anyway.

I watched a lot of Alton Brown’s Good Eats episodes on how to make Hollandaise as well as how to poach eggs and time everything so it all comes together. By Saturday, I was still pretty intimidated. Alton had some great tips though so if you’re attempting eggs benny for a group of people, I would definitely recommend his instructions and videos. I also really loved his addition of a bit of cayenne to the Hollandaise. The little bit of added spice was a nice surprise.

If you follow me on Instagram, you probably know that I’m obsessed with Kerry Gold Grass Fed butter. Well, this was the last of it. It all went into this Hollandaise. (Yes, we really enjoy our fat.)

I mean, look at the gorgeous butter. I really need to go the States so I can pick some more up!

I made the birthday boy take some photos for me so I could blog this recipe. I’m such a nice girlfriend. Please excuse my ratty lake hair though. I’m trying to train my hair to go unwashed for longer periods of time. Who likes washing their hair anyway? Don’t be grossed out. You know you don’t like washing your hair all the time either.

With Hollandaise, you have to add the butter so slowly and be really careful with the heat. This was a pretty big test of my whisking strength and my patience. It turns out, I need to work on that (the whisking, not the patience). My arm got tired pretty quickly and I ended up with a blister on my finger. It was truly worth it for the delicious brunch we ended up with though.

I was quite proud and obviously had to show off my sauce. Doesn’t it look delicious? I wish I could have some now, in fact.

This recipe taught me that I need to work on perfecting my biscuit shaping and egg poaching. Neither turned out quite as nicely as I’d have liked. The biscuits tasted delicious and, more importantly, the eggs were runny, so I’m pretty sure that’s all that really matters.

Below, I’ve typed out the Alton Brown recipe I used with my slight tweaks. (Instead of sugar, I used a bit of honey and I didn’t have an infrared thermometer so I couldn’t measure the temperature as accurately as he did. It’s very much the same as his, but fits into our “Paleo” lifestyle a little bit better since it doesn’t have sugar.)

Hollandaise Sauce
– 1 quart saucier
– 3 egg yolks
– 1 tbl water
– 1/2 tsp cayenne, divided
– kosher salt
– 2 – 3 tbl lemon juice
– 1/4 tsp honey
– 12 tbl unsalted butter, cut into tablespoon-sized pieces

Combine egg yolks, water, 1/4 tsp of cayenne powder, and kosher salt in the saucier and beat until light and frothy. This should take about one minute.
Put the saucier over low heat and whisk vigorously, moving the pan on and off the heat ever 10 to 15 seconds. Once it reaches a custard-like consistency, start adding the butter, one pad at a time. Continue whisking.
Once half the butter has been added, add one tablespoon of lemon juice. Continue adding the butter until it is all whisked in. Add the second tablespoon of lemon juice, the remaining cayenne powder, and the honey. Whisk for another 1 to 2 minutes.

Taste and add more lemon juice, as desired. Transfer to a thermos until ready to serve.

I highly recommend trying this recipe out. It’s delicious and looks pretty impressive when your brunch guests sit down to eat.

Bon Appetit!

Paleo Aloo Gobi

This is one of those recipes we turn to pretty often because of its simplicity. It is incredibly delicious for how easy it is to make. I’m not much of a believer that a recipe has to be complicated in order to be great, but sometimes I’m still surprised by how easy it can be to make great food. Some of my favourite recipes are actually very basic and this one is no exception.

I took these pictures a long time ago, but we just made this recipe again this week and it reminded me of how great it is. You can find the recipe on Juli’s blog, paleomg.

She might just be a genius. I know these photos make it look a bit on the complicated side, but it’s really not. It’s just some spices, coconut milk, chicken, cauliflower, and sweet potatoes. Simmer and enjoy. Your whole house will smell incredible too! (That is, if you enjoy curry and garlic I guess.)

We’re out at the lake this weekend for N’s birthday and May long so this is a pretty short post. I took some great pictures for the recipes I made over the weekend so I hope to find the time to share them this week. They were well worth the time spent over the stove.

The only thing missing from this final shot here is the cilantro. I don’t know how I dropped the ball on that one, but of course it happened when I decided to pull out my DSLR and actually take photos. How come it always happens that way?

Hope everyone is having a great long weekend! Try this recipe. I swear it’s well worth it!

Spicy Sweet Pasta Sauce

I’m obsessed. Seriously obsessed.
Two words: Yam Pasta. I don’t know how I never thought of this before, but ever since discovering this recipe on George’s website, it’s all I’ve wanted to make. Thank you, George! You’re a genius!
The beginning of a delicious pasta sauce.

The first night we made it, we decided to try it with a tomato sauce. We’re both big fans of spicy chorizo so we decided to make a pasta sauce with some chorizo in it. Since it’s become a weekly favourite, I thought I’d share it with everyone. It’s one of the simplest sauces we make so I’m not even sure it’s officially a recipe, but I think it’s delicious so give it a try!

Cooking up some delicious chorizo sausage.

Tomato Sauce:

Ingredients
·         1 can of tomato paste
·         Chorizo sausage
·         1 tablespoon balsamic vinegar
·         1 tablespoon cinnamon
·         1 tablespoon coconut milk
·         A pinch of nutmeg
·         Salt and Pepper to taste
Instructions
1. Cut chorizo into bite-sized pieces
2. Cook chorizo in skillet
3. Once cooked, add chorizo and other ingredients to a pot
4. Cook on medium heat until warmed
5. Add to sweet potato noodles

Cutting up some chorizo.

We’ve since made this a couple times. Usually we’ve done it with Yam Noodles, but the time I managed to remember to take photos, I had it with spaghetti squash. Both are awesome, but I highly recommend the Yam Noodles.

Chorizo and Sauce.
 Enjoy! 

Delicious Paleo Pasta

Easter

N and I spent Easter Sunday with my parents this year. Mom asked that I bring an appetizer so I got up early Sunday morning and set to work. I decided to make deviled eggs. What is more perfect for Easter than deviled eggs?

The recipe I used is from Bon Appétit and they were a huge hit! Even my brother seemed impressed with them. I can definitely see myself making them again, since they were so easy and they include ingredients we tend to have on hand: bacon, eggs, and green onions. 

Bacon Deviled Eggs

Mom set out some other delicious appetizers including homemade bruschetta, olives, crackers, and a selection of delicious cheeses. I was in appetizer heaven. This is honestly one of my favourite things about family gatherings: sitting around the island, munching on delicious things, and having a couple drinks before dinner.

Appetizers
Nathan hanging out before dinner
For my family, Easter is usually either Ham or Lamb. Luckily for me, my parents had decided on lamb this year. I’m just not a big Spiral Ham fan. Don’t get me wrong, I like Ham, but it inevitably makes me think of lamb and then I’m just disappointed. Sorry, Ham, you just can’t compete with Lamb!
Mom originally told me we were having Lamb when she invited us for dinner. I then came over the week before Easter and she told me she had some news for me: We were going to be having Ham instead of Lamb at Easter. She then took photos of my disappointment and laughed a lot before telling me it was all a joke. We would still be having Lamb. 
Mom Cooking
Delicious Lamb
As usual, dinner was delicious. Dad made risotto and roasted asparagus with harrissa to go with the lamb. Looking at these photos makes me wish I could go back in time and eat this right now. 

All in all, it was a wonderful day with N and my family. The weather even cooperated enough for me to wear open toed heels and a skirt! I forgot to ask Nathan to take a photo of me, but I did manage to snap this one of my gem of a brother.

What a photogenic kid!

Pumpkin Pancakes

I love brunch. It’s one of my favourite things about weekends. We live down the street from 2 amazing brunch spots and a short drive from a handful of others, but most of the time we try to do brunch at home.

Pumpkin Pancakes are one of our favourite weekend treats. They are delicious, easy, and paleo. Triple threat brunch. Sounds good right?

I’ve instagrammed photos of these pancakes so many times that I figured it was about time I blogged about them. I even convinced N to photograph for me (believe me, not an easy feat!). And yes, I always look this put together on Saturday mornings. (I hope if you make these pancakes you enjoy them in your pyjamas too. No makeup necessary.)

I really wish I could take credit for this awesome recipe, but sadly I cannot. This is from what has quickly become my favourite cookbook, Practical Paleo. Follow the link to Diane’s recipe online or check out my very similar version below.

Pumpkin Pancakes
grain-free, gluten-free, dairy-free, sugar-free, nut-free, nightshade-free

Prep Time: 15 minutes
Cooking Time: 20 minutes
Yield: 2 servings

Ingredients:

* 4 eggs
* 1/2 cup canned pumpkin puree
* 2 tablespoons butter or coconut oil   (I use coconut oil)
* 1 teaspoon of pure vanilla extract
* 2 tablespoons of pure maple syrup (unless you’re going sugar free. You can also use honey.)
* 1/4 teaspoon baking soda
* 1 teaspoon pumpkin pie spice (we don’t have this so I added a pinch of nutmeg)
* 1 teaspoon cinnamon 
pinch of salt (I’ve forgotten this many times.)

Whisk the eggs in a medium bowl.

Add the pumpkin puree, pure vanilla extract, and pure maple syrup. Whisk together. Sift the spices and baking soda into the wet ingredients. (I am usually too lazy for sifting, so I just add them and mix until everything is combined.)


Melt 2 tablespoons of butter (or coconut oil) in a large skillet over medium heat. Then, mix the butter into the batter. (I let it cool for a bit so it doesn’t cook the egg.)

Continue to whisk the batter and butter until they are completely combined. 

Grease the skillet and spoon the batter into the skillet to make pancakes of your desired size. When bubbles appear, flip the pancakes once to finish cooking.

Serve with butter, cinnamon or bananas. Personally, we usually go with extra maple syrup and nice cup of fresh coffee. 

Enjoy!

Page 1 of 2

Powered by WordPress & Theme by Anders Norén